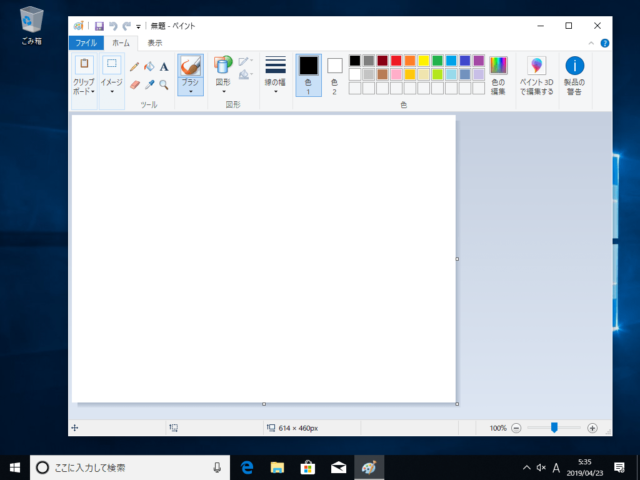
Windows10 のペイントアプリで、画像にモザイク処理をする方法について紹介します。
Windows10 に最初から入っているペイントというアプリには、モザイク処理をする機能がありません。
そのため今回は、ペイントにある機能を使って「モザイク処理」をしたような加工をする方法を紹介します。
![](https://find366.com/wp-content/uploads/2019/04/2019-04-23_05h35_04-640x480.png)
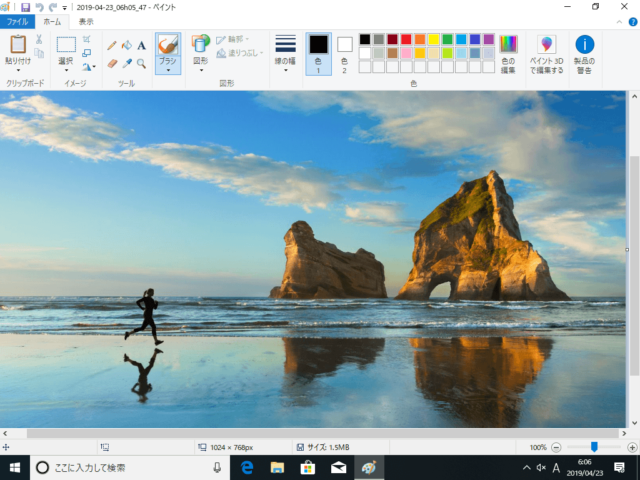
モザイク処理をしたい画像を開いて下さい。
今回は、WIndows10の壁紙を使用しました。
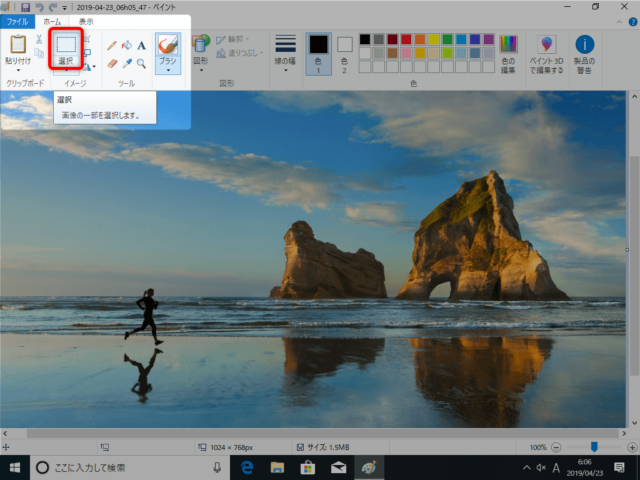
![](https://find366.com/wp-content/uploads/2019/04/2019-04-23_06h06_42-640x480.png)
「選択」ツールをクリックして下さい。
![](https://find366.com/wp-content/uploads/2019/04/2019-04-23_06h06_54-640x480.png)
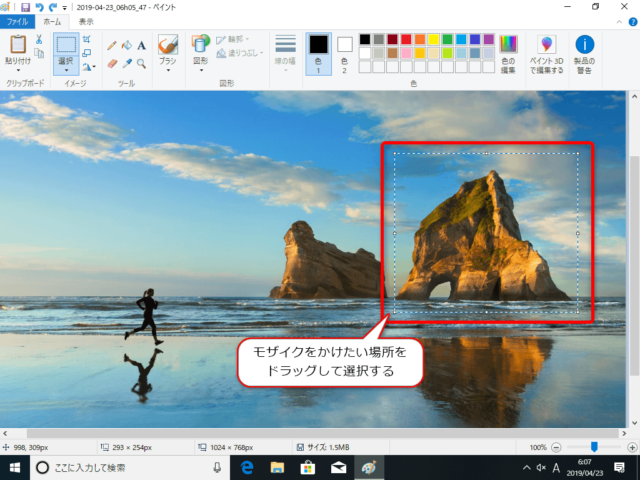
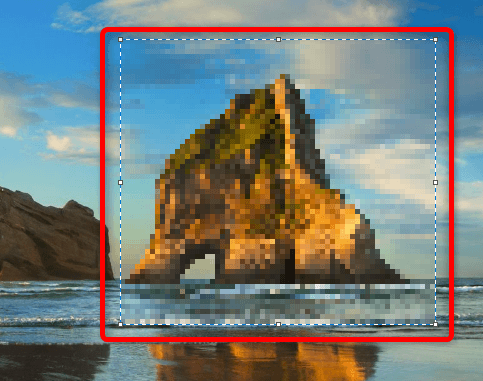
モザイク処理をしたい部分をドラッグして、選択します。
今回は岩山をドラッグして選択しました。
![](https://find366.com/wp-content/uploads/2019/04/2019-04-23_06h07_10-640x480.png)
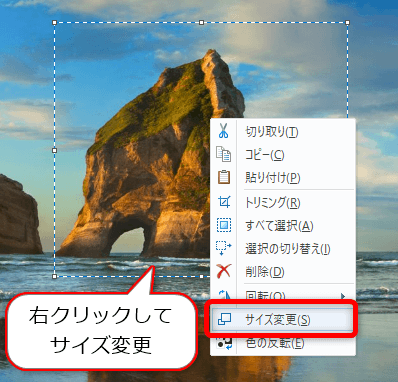
選択した部分を右クリックして、出てきたメニューから「サイズ変更」をクリックします。
![](https://find366.com/wp-content/uploads/2019/04/2019-04-23_06h07_21.png)
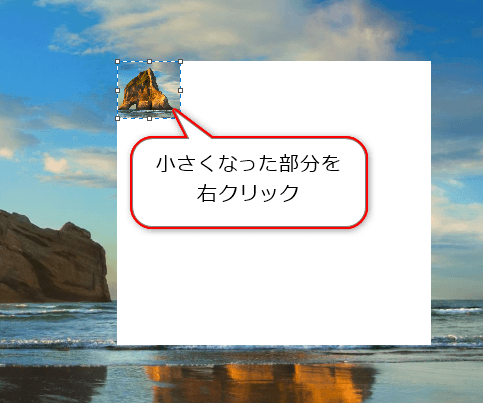
サイズ変更の水平方向に「20」と入力します。すると自動的に垂直方向も「20」と入力されますので「OK」をクリックして下さい。
![](https://find366.com/wp-content/uploads/2019/04/2019-04-23_06h08_32.png)
選択部分が縮小されて小さくなりました。そのまま小さくなった部分を右クリックして下さい。
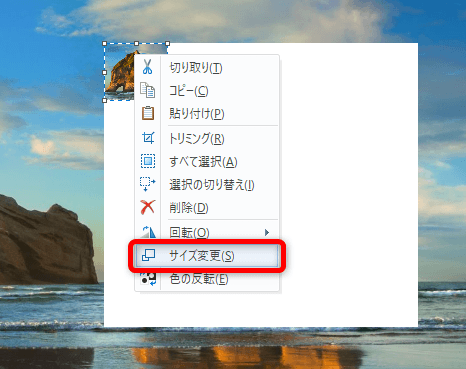
![](https://find366.com/wp-content/uploads/2019/04/2019-04-23_06h08_41.png)
再度「サイズ変更」をクリックします。
![](https://find366.com/wp-content/uploads/2019/04/2019-04-23_06h08_48.png)
今度は「500」と入力して「OK」をクリックします。
![](https://find366.com/wp-content/uploads/2019/04/2019-04-23_06h08_59.png)
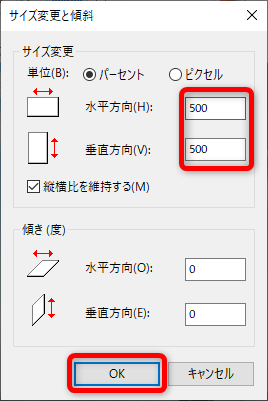
縮小されていた部分がもとの大きさに戻り、モザイク処理がかかったようになっていますね。
![](https://find366.com/wp-content/uploads/2019/04/2019-04-23_06h09_07.png)
これでモザイク処理が完了しました。
変更したファイルを保存して終了です。
![](https://find366.com/wp-content/uploads/2019/04/2019-04-23_06h09_19-640x480.png)
以上、ペイントアプリでモザイク処理をする方法を紹介しました。